How to Compress Images Without Losing Quality
Large images are the number-one cause of slow websites and bloated email attachments. The good news: most images carry far more data than your eyes can actually see, so you can usually cut their file size by 50–80% with no visible difference. This guide explains how image compression works and how to do it properly.
Everything below can be done with the free, browser-based Image Compressor — your files never leave your device, so it's safe for private or sensitive photos.
Lossy vs lossless: the two kinds of compression
There are two fundamentally different ways to make an image smaller:
- Lossless compression repacks the data more efficiently without throwing anything away. The decompressed image is pixel-for-pixel identical to the original. PNG is lossless. The trade-off is that savings are modest for photographs.
- Lossy compression discards information the human eye is least likely to notice — subtle color variations and high-frequency detail. JPEG and WebP are lossy. This is where the big savings come from.
"Without losing quality" really means without losing visible quality. A JPEG saved at 80% quality is technically lossy, but in side-by-side viewing almost nobody can tell it apart from the original — while being a fraction of the size.
The single biggest win: resize before you compress
Before touching quality settings, ask: how large does this image actually need to be?
A photo straight from a phone might be 4000×3000 pixels. If it's only ever displayed at 1200 pixels wide on your website, you're sending ~10× more pixels than anyone sees. Resizing the longest edge down to what you actually need often saves more than any quality slider.
In the Image Compressor, set a maximum dimension (e.g. 1600 or 1920 px) and the tool scales the image down proportionally before compressing. This alone can turn a 6 MB photo into a few hundred KB.
Choosing the right quality setting
For lossy formats, quality is a slider from roughly 0–100. Here's a practical cheat sheet:
- 90–100% — visually lossless, but larger files. Use only when the image will be heavily zoomed or printed.
- 75–85% — the sweet spot for most web images. Big savings, no visible loss for typical viewing.
- 60–75% — aggressive but often fine for thumbnails and background images.
- Below 60% — you'll start seeing blocky artifacts, especially around edges and gradients.
Start at 80% and only lower it if the file is still too big. Compare before and after at 100% zoom — if you can't see a difference, you've found your setting.
Pick the format that fits the image
The format matters as much as the quality slider:
- Photographs → JPEG or WebP. WebP is typically 25–35% smaller than JPEG at the same visual quality.
- Screenshots, logos, graphics with flat color or text → PNG (or WebP). JPEG smears sharp edges and text.
- Anything needing transparency → PNG or WebP. JPEG has no transparency.
If you're not sure, try exporting as WebP — it's supported by every modern browser and usually wins on size. (See our companion guide, PNG vs JPEG vs WebP, for a deeper comparison.)
A note on PNG: use quantization
PNG is lossless by default, which is why "compressing" a 24-bit PNG in most tools barely helps. The trick the best tools (including TinyPNG) use is color quantization — reducing the image from 16 million possible colors to an optimized palette of 256 or fewer, with dithering to keep gradients smooth. For screenshots and graphics this can cut PNG size by 50–70% with virtually no visible change. The Image Compressor applies this automatically when you output PNG.
Step by step
- Open the Image Compressor and drop in one or more images.
- (Optional but powerful) set a maximum dimension to downscale oversized photos.
- Choose an output format — keep the original, or convert to WebP for the smallest result.
- Drag the quality slider to around 80% and check the before/after size and preview.
- Download each image, or grab them all as a ZIP.
A few extra tips
- Re-compressing a JPEG repeatedly degrades it. Always compress from the highest-quality original you have, not from a file that's already been through the wringer.
- Strip metadata. Camera photos carry EXIF data (location, device, timestamps). Re-encoding through a tool like this removes it — smaller files and better privacy.
- Test on real content. Faces, skies and gradients show artifacts first; flat textures hide them.
Frequently asked questions
Does compressing an image reduce its resolution? Not unless you resize it. Compression reduces file size; resizing reduces pixel dimensions. They're independent — though combining both gives the biggest savings.
Is it safe to compress private photos online? With the Image Compressor, yes — it runs entirely in your browser and never uploads your files. Be cautious with tools that upload to a server.
What's the best format for the web in 2025? WebP for most images; PNG for graphics that need crisp edges or transparency; JPEG remains a safe, universal fallback.
Compress smart: resize first, pick the right format, and aim for ~80% quality. You'll ship pages that load faster and rank better — without anyone noticing the images got smaller.
Related Articles
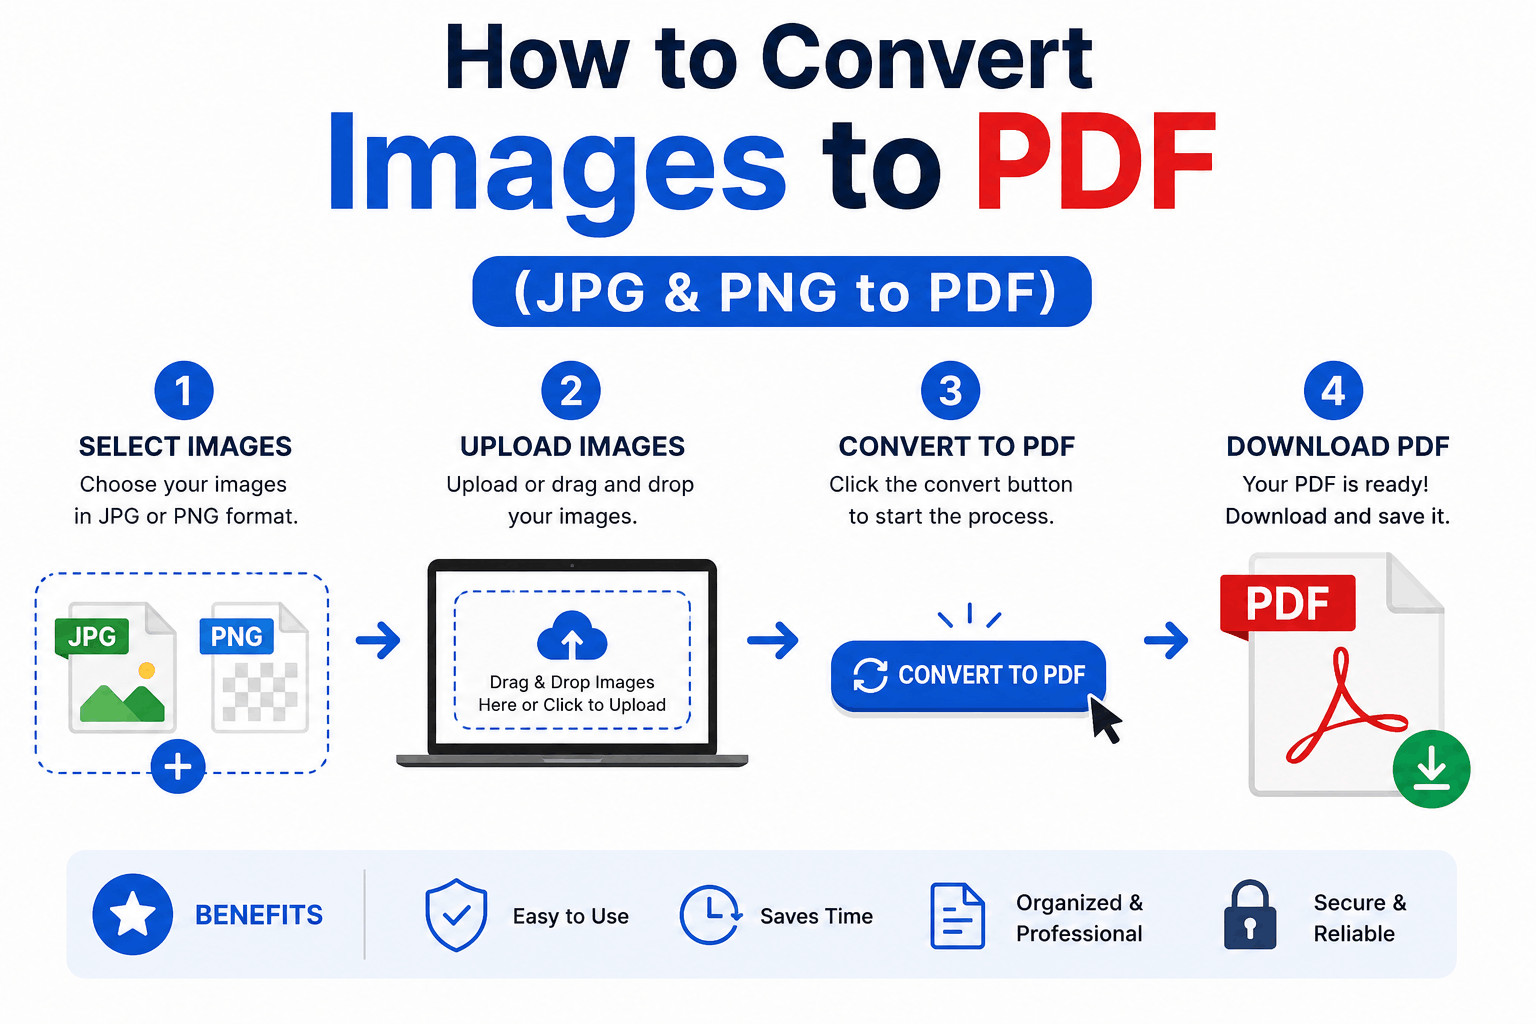
How to Convert Images to PDF (JPG & PNG to PDF)
Turn one or many JPG, PNG or WebP images into a single, tidy PDF — with the right page order, size and margins. Free and entirely in your browser.
How to Edit a PDF for Free in Your Browser
Reorder, rotate and delete pages, add text and highlights, sign documents and fill forms — all for free in your browser, with no upload and no watermark.
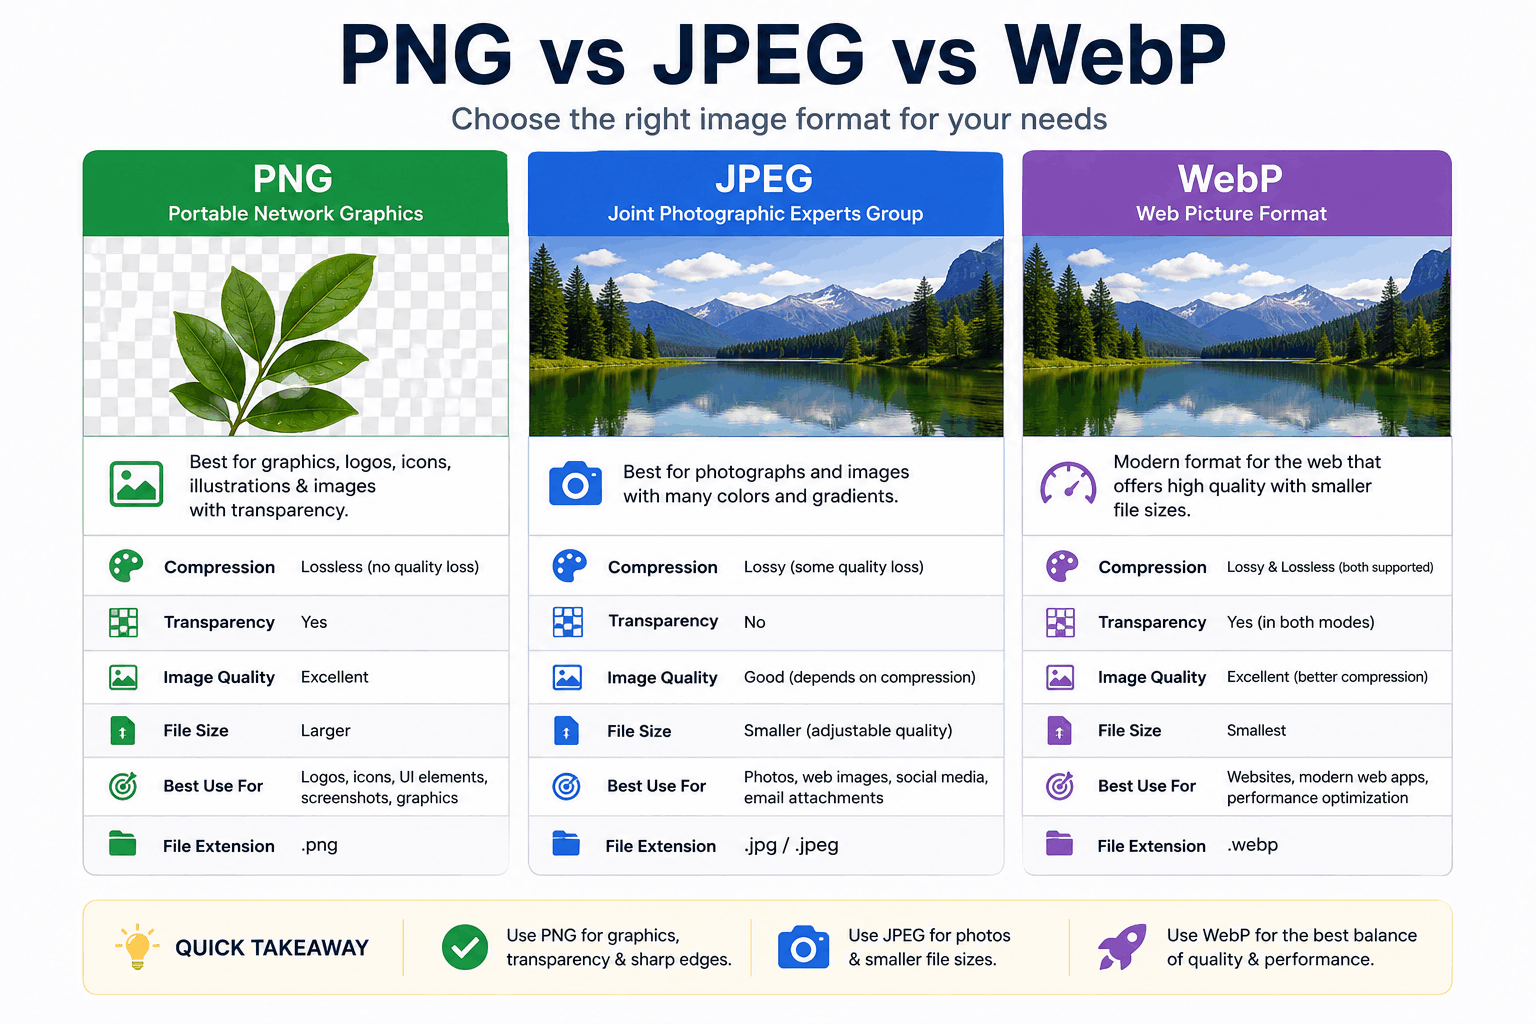
PNG vs JPEG vs WebP: Which Image Format Should You Use?
PNG, JPEG and WebP each win in different situations. Here's a clear, practical breakdown of when to use each — with real guidance on quality, transparency, and file size.